Understanding the Cash Home Sale Process
Selling your home for cash can be an attractive option if you want speed, certainty, and fewer headaches than a traditional sale. Instead of dealing with bank financing, appraisals, and lengthy contingencies, a cash home sale typically involves a direct buyer who can close quickly, often in as little as 7–21 days.
However, the process still requires careful attention so you protect your interests and walk away with a fair deal. Below is a clear breakdown of how the cash home sale process usually works and what you can expect at each step.
Step 1: Decide if a Cash Sale Is Right for You
Start by deciding whether a cash sale fits your priorities. A cash offer often comes with trade-offs, such as a lower price in exchange for a fast, as-is sale.
Pros of a Cash Home Sale
- Faster closing: No lender underwriting means you can often close within weeks instead of months.
- As-is condition: Many cash buyers accept homes in their current condition, saving you on repairs and upgrades.
- Fewer fall-throughs: Without financing contingencies, deals are less likely to collapse at the last minute.
- Less hassle: You may be able to avoid showings, open houses, and staging.
Cons of a Cash Home Sale
- Lower sale price: Cash investors often offer below market value to account for repairs, risk, and profit.
- Limited buyer pool: You’ll be working with investors, iBuyers, or individual cash buyers instead of the full retail market.
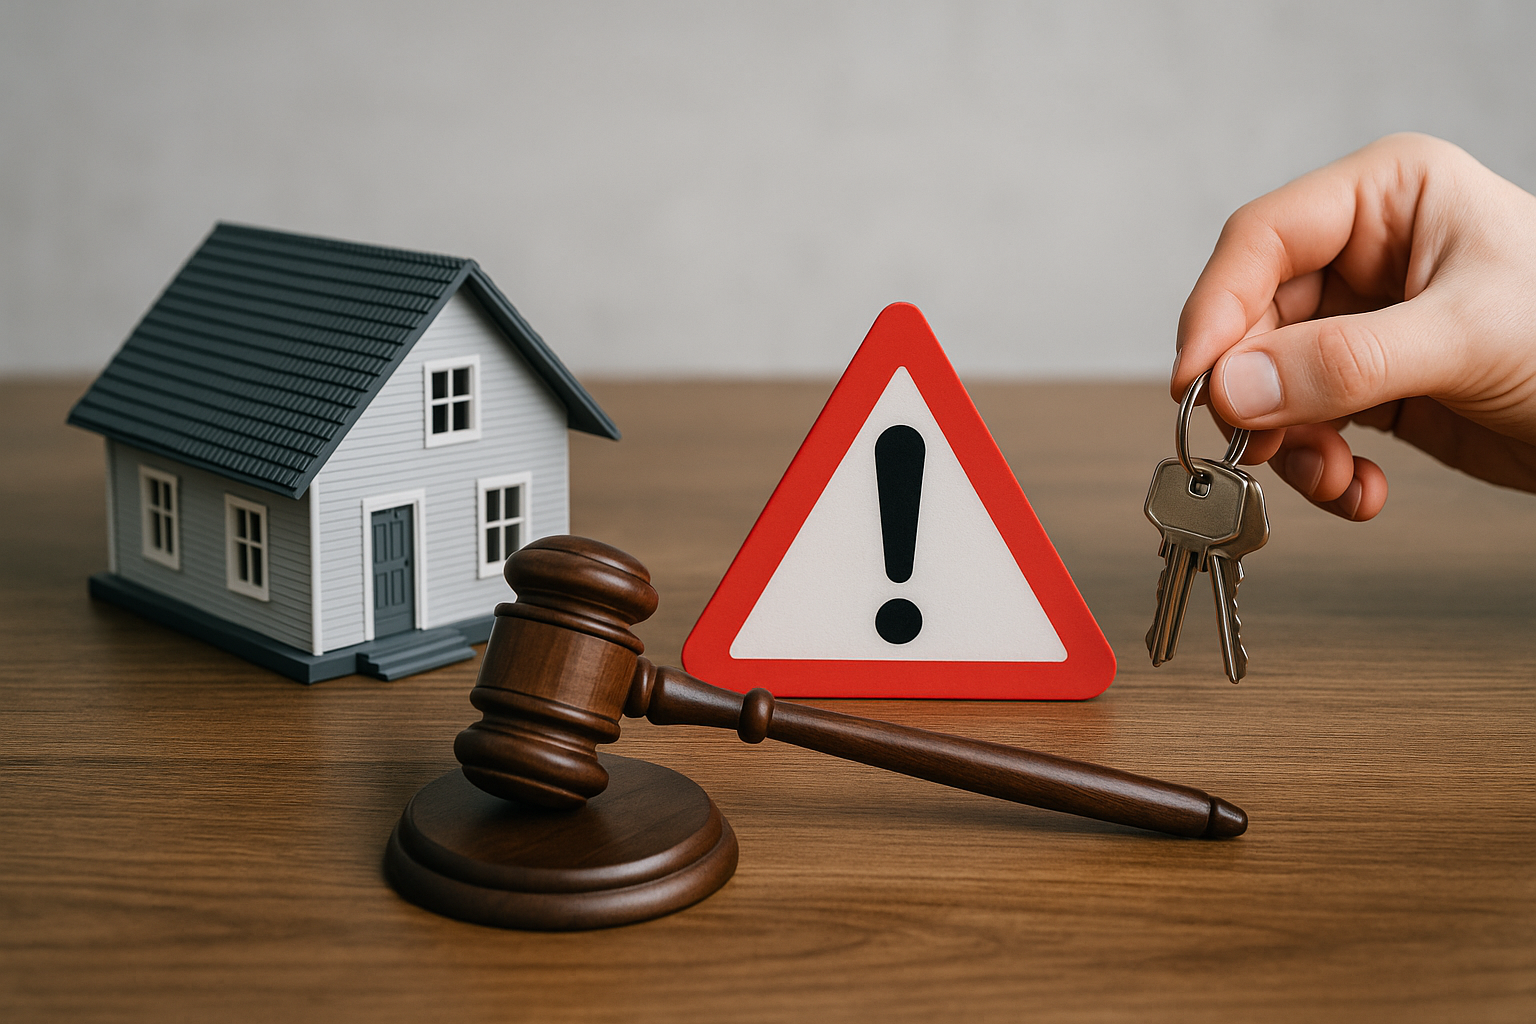
- Potential for scams: Not every “cash buyer” is legitimate, so due diligence is essential.
If your top priority is maximizing your sale price and you can wait, a traditional listing might be better. If you need speed, convenience, or certainty, a cash home sale can be a strong option.
Step 2: Find and Vet Cash Buyers
Once you decide a cash sale makes sense, the next step is to find qualified buyers and carefully vet them.
Types of Cash Buyers
- Local real estate investors: Individuals or small companies that buy, renovate, and resell or rent properties.
- Home-buying companies: Firms that advertise “We buy houses for cash” and focus on quick, as-is purchases.
- iBuyers: Technology-driven companies that make instant online cash offers in select markets.
- Individual buyers with cash: Owner-occupants who have funds available without needing a mortgage.
How to Vet Cash Buyers
- Check reviews and references: Look up online ratings, testimonials, and Better Business Bureau profiles.
- Verify proof of funds: Ask for a recent bank statement or a letter from a financial institution confirming available cash.
- Research their business: Search the buyer’s company name, website, and state business registration.
- Ask about their process: Legitimate buyers can clearly explain their timeline, fees, and how they determine the offer price.
It’s often helpful to speak with more than one cash buyer so you can compare offers, terms, and professionalism.
Step 3: Request and Review Cash Offers
After identifying potential buyers, you’ll request offers. Many cash buyers will:
- Ask basic property details (age, size, condition, repairs needed)
- Review recent comparable sales in your area
- Schedule a quick walkthrough of the property
Once they gather information, they’ll present a cash offer.
What to Look for in a Cash Offer
- Purchase price: Understand how it compares to your home’s market value and what you would net after a traditional sale.
- As-is terms: Confirm whether they’ll handle repairs, clean-out, and any code issues, or if you’re responsible.
- Closing timeline: Make sure the proposed closing date works with your moving plans.
- Earnest money deposit: A serious buyer will put down a deposit when the contract is signed.
- Contingencies: Some cash offers still include inspection or title contingencies; know what could allow them to cancel.
Don’t hesitate to negotiate. You can ask for a higher price, a different closing date, or other terms that better suit your needs.
Step 4: Sign the Purchase Agreement
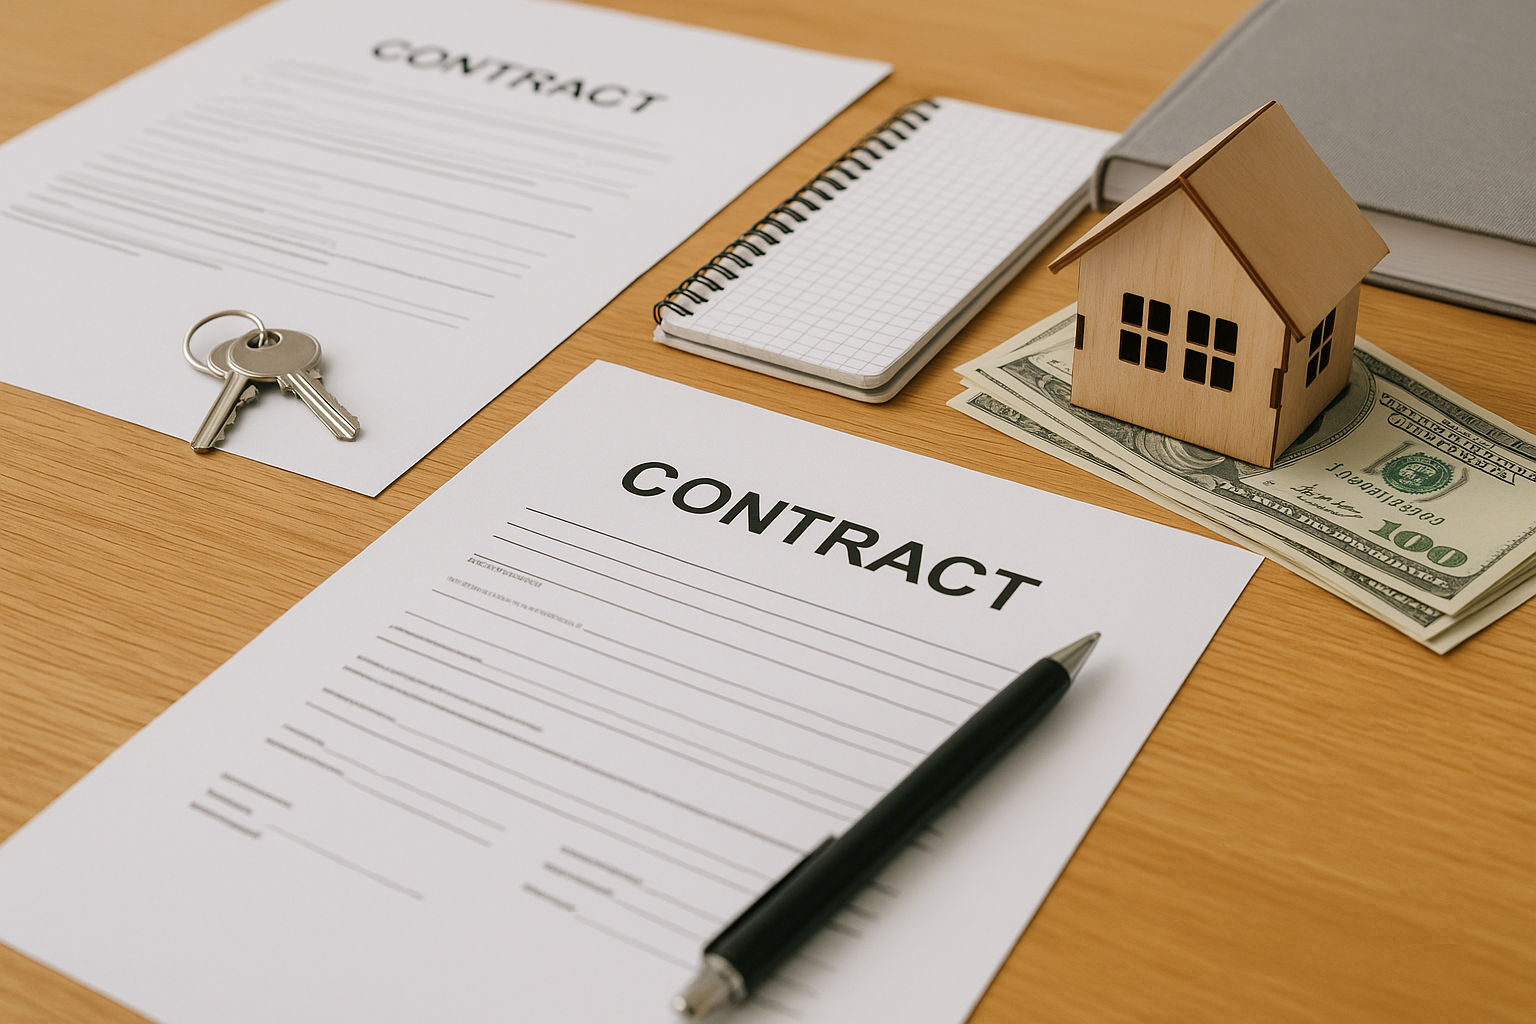
Once you accept an offer, the terms should be documented in a written purchase agreement. This is a legally binding contract, so take the time to read and understand it.
Key Elements in the Contract
- Legal names and property description
- Agreed-upon purchase price
- Earnest money amount and deposit date
- Closing date and location
- Contingencies (if any), such as inspection or clear title
- Items included in the sale, like appliances or fixtures
- Responsibility for closing costs (buyer, seller, or split)
Consider having a real estate attorney or experienced agent review the contract, especially if you’re not working with a traditional listing agent.
Step 5: Title Work and Due Diligence
After the contract is signed, the transaction moves into the due diligence and title phase. Even in a cash sale, this step is important to ensure the property can legally transfer to the buyer.
Title Search and Clearing Issues
- Title company or attorney: A neutral third party will review public records for liens, unpaid taxes, judgments, or ownership disputes.
- Resolving problems: If issues are found, they may need to be paid off, settled, or otherwise cleared before closing.
- Title insurance: Buyers often purchase title insurance to protect against hidden defects; sellers may be asked to pay for a policy in some markets.
Inspections and Access
Some cash buyers skip formal inspections, while others still require them. If an inspection is part of the contract:
- Provide reasonable access for inspectors or contractors.
- Review any repair requests in light of your as-is agreement.
- Clarify whether major issues discovered can change the price or cancel the contract.
Step 6: Prepare for Closing Day
As closing approaches, you’ll have several practical tasks to complete to ensure a smooth handoff.
Logistics and Documents
- Confirm closing details: Date, time, and location with the title company or attorney.
- Gather documentation: Government-issued ID, keys, garage openers, HOA information, and any warranties or manuals.
- Review the closing statement: This document outlines your final costs, credits, and the net amount you’ll receive.
Utilities and Move-Out
- Schedule your move so the home is vacated by the agreed date.
- Arrange for utilities to be transferred or shut off after closing.
- Leave the property in the condition specified in your contract (broom clean or otherwise).
Step 7: Close the Sale and Receive Your Funds
On closing day, you’ll sign the final documents to transfer ownership to the buyer. This typically includes:
- The deed and other transfer documents
- A closing disclosure or settlement statement
- Any affidavits or state-required forms
Once all documents are signed and recorded, the title company or attorney will disburse funds. Because it’s a cash transaction, there’s no waiting on lender approval—your funds are usually available the same day via wire transfer or within a short period if you choose a check.
Conclusion
The cash home sale process is designed to be faster and simpler than a traditional financed sale, but it still involves important legal and financial steps. By understanding how cash buyers operate, carefully vetting offers, and working with reputable professionals for title and closing, you can confidently navigate a cash sale and move on to your next chapter with clarity and peace of mind.